Alright friends… I’m happy to proclaim we’re knee deep in all the pretty things at our latest spec project! As I commented last post, rough work (electrical, plumbing, HVAC, insulation, etc)… can be… well, kind of rough. It’s critical, but certainly not romantic. Now that the rough stage is well in the rear view mirror, we’re about halfway through installing all the finishes. Cabinetry is installed. Tile is about complete. Millwork trim is just about done. Wood flooring is installed. Yes, most all the things are coming together. And it’s feeling nice.
For the most part we’ve stayed true to our original design. We did call an audible or two in the field and change plays (love me a good football reference). As an example, we went from wood stained beams in the great room to painted white beams. The great room beams were built of kiln dried douglas fir (tip of the day: pursue kiln dried material if you’re building exposed beams… the kiln drying process will remove moisture from the beams and prevent them from shrinking once installed). But if you’ve ever worked with douglas fir, you know that when lightly stained it wants to pull golden tones, oranges, and sometimes a peach color. While there is certainly a place for those tones… that place just doesn’t happen to be in this spec project.
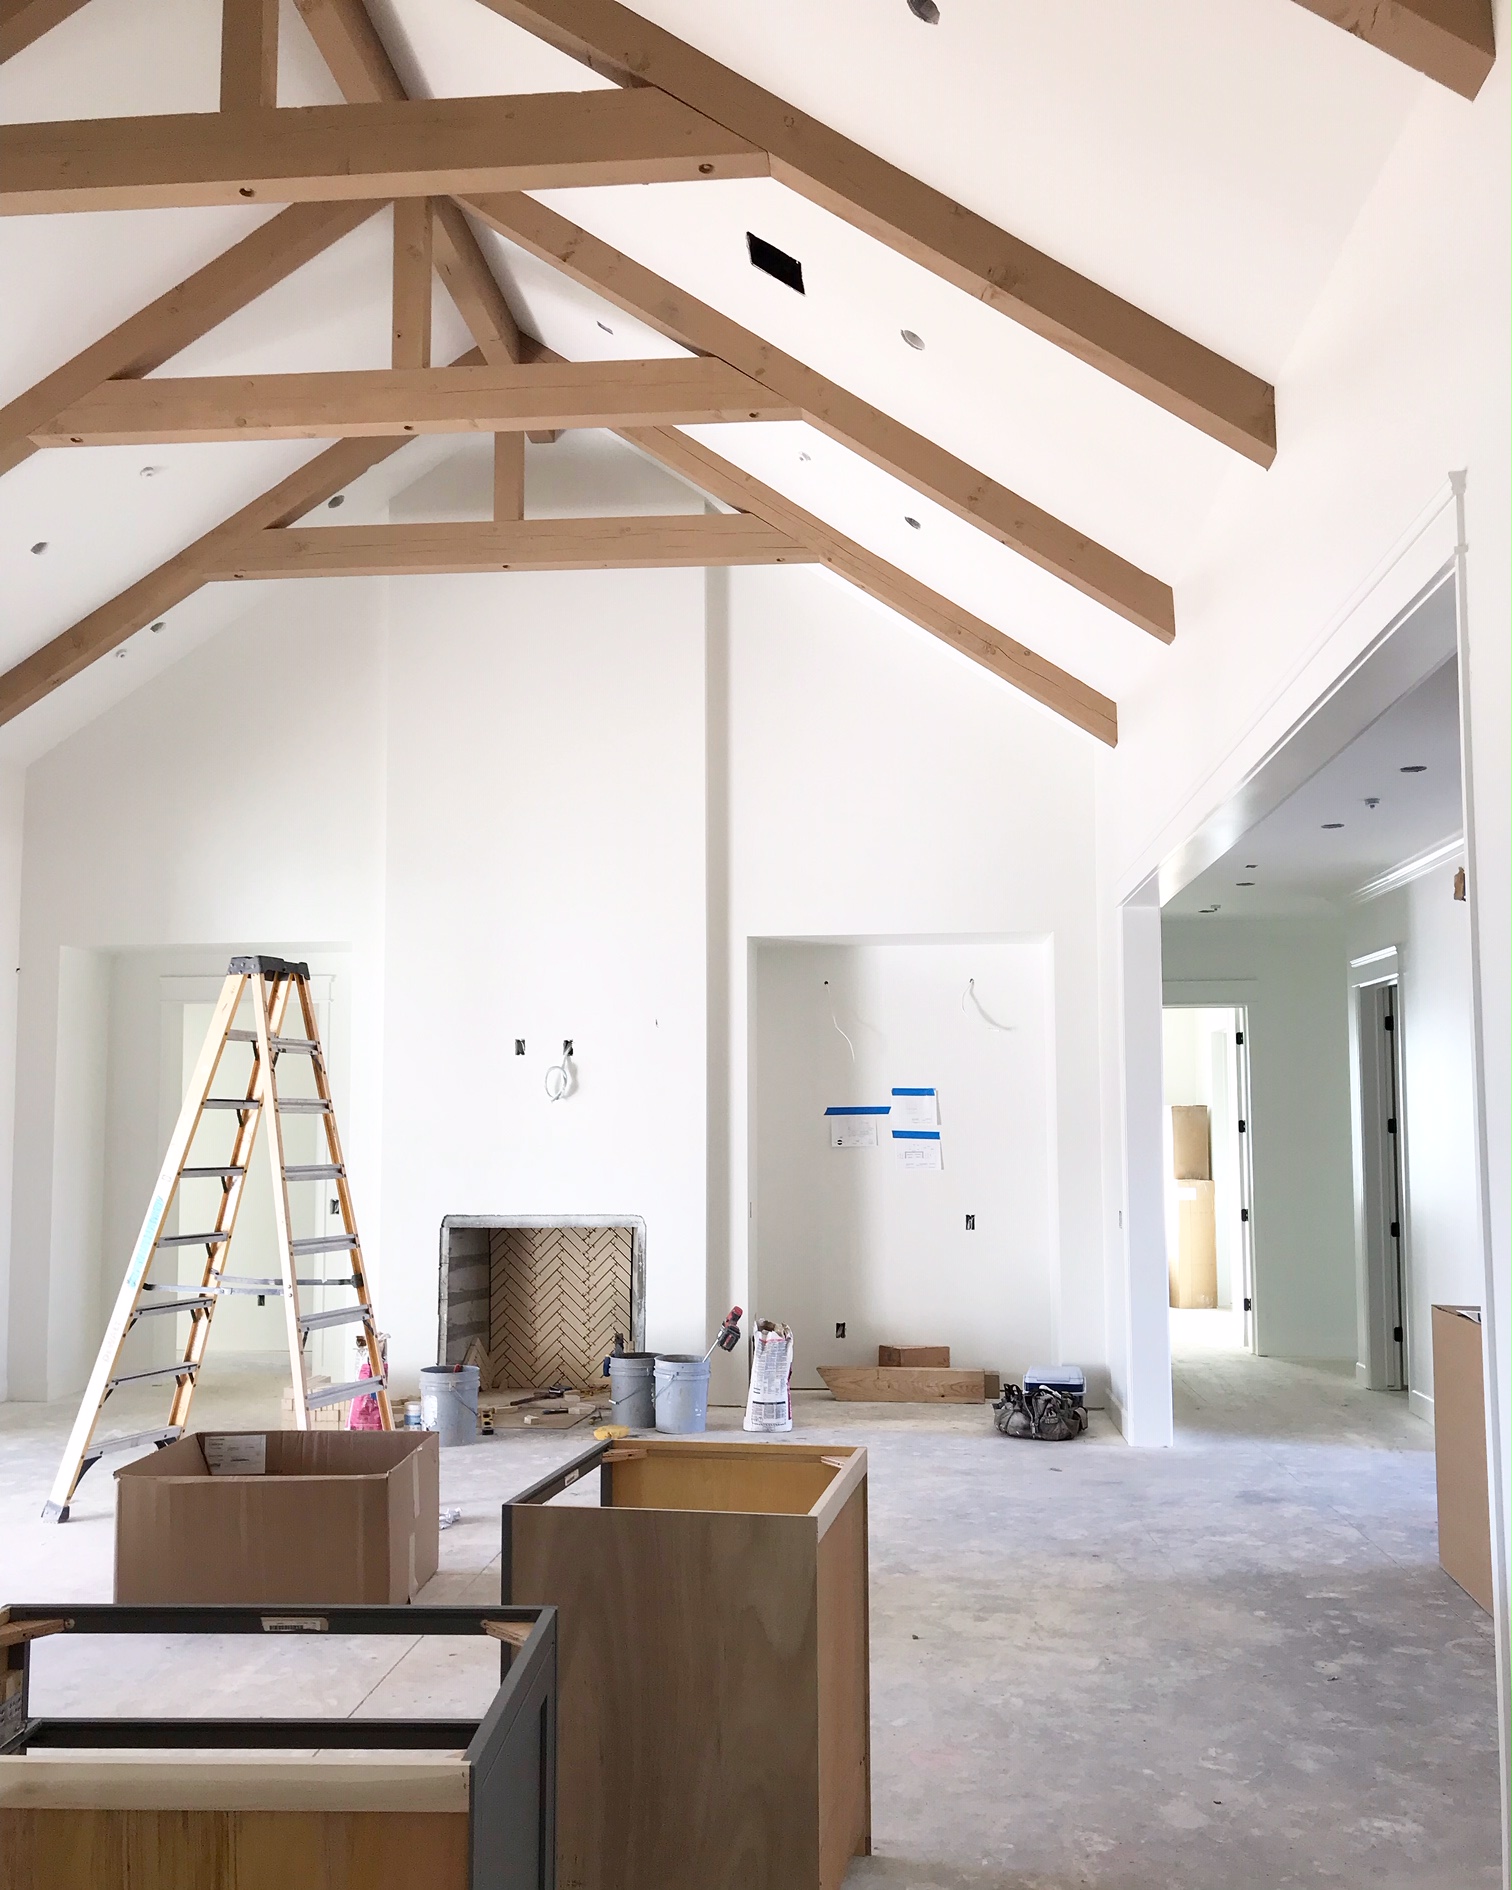
Here’s a shot of the beams just after staining.
Don’t get me wrong… I do like then tone of the stain. However, the issue was how the beams interacted with other wood tones and design elements in the great room. What this photo doesn’t show you is the other side of the room that includes the kitchen. Which includes additional wood tones. Got to be mindful of the wood tones my friends.
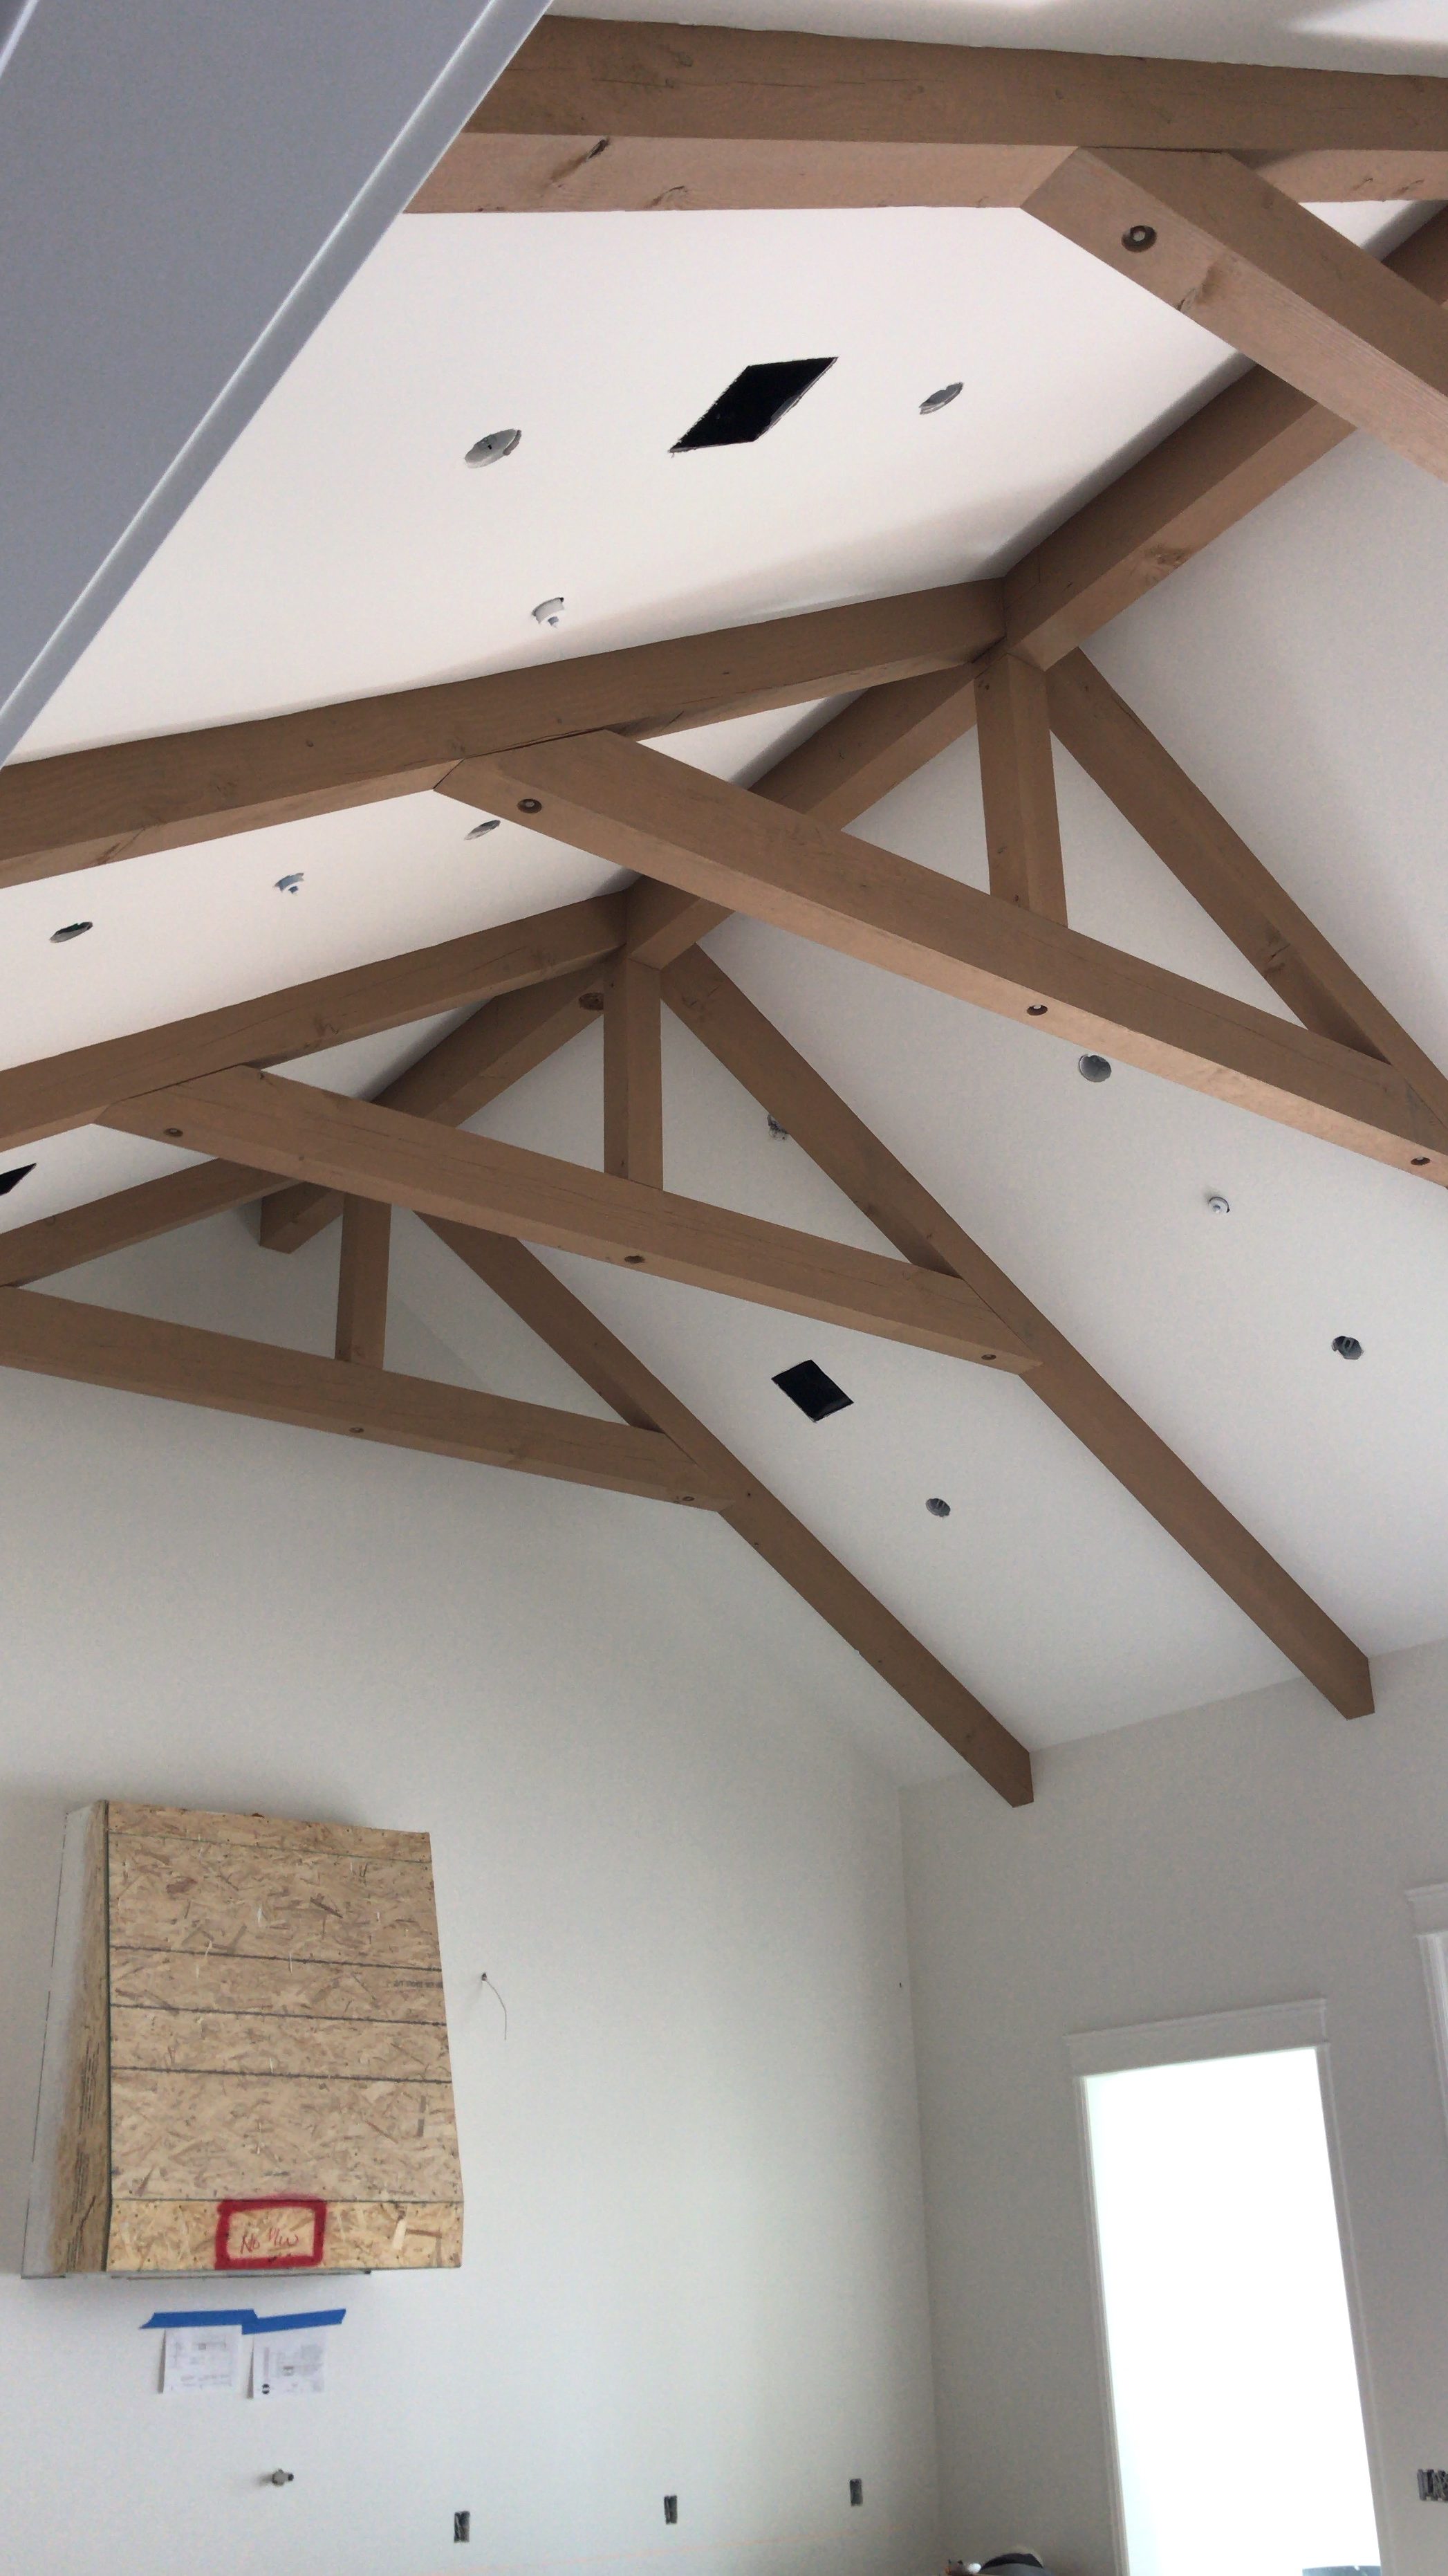
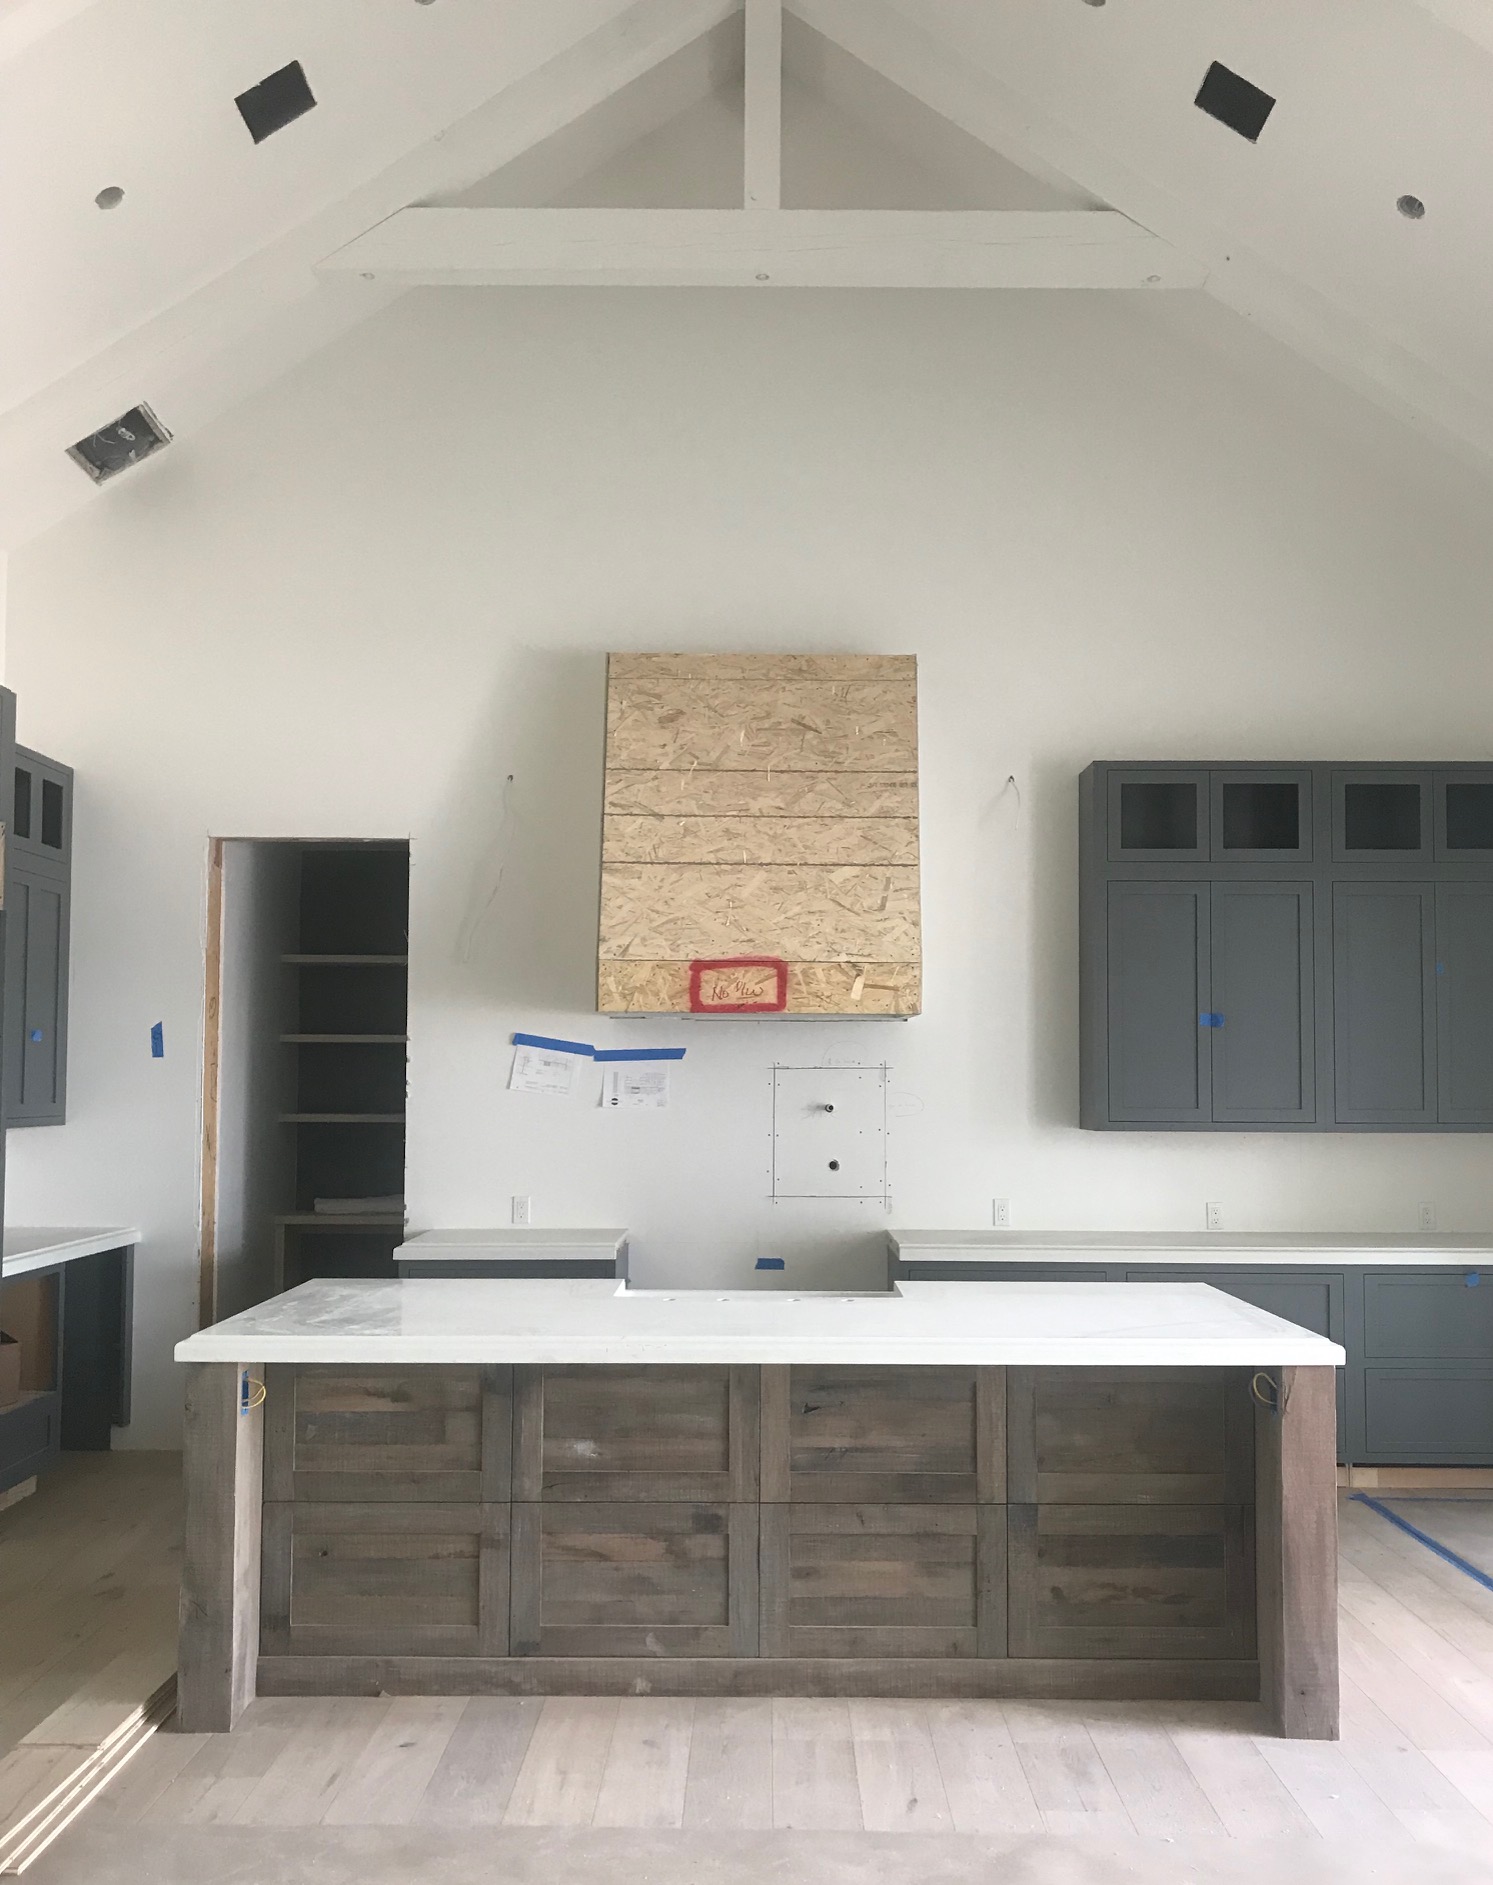
Here’s another shot of the beams. And the kitchen range hood framing as well.
So we painted the beams white.
Say hi to the white beams.
Ok, now before you lay in to me for the white beams, understand we wanted them to “tone down” a bit and kind of go to the background. I’m a visualizer… and sometimes I feel we walk in to a space and there are too many design features calling for our attention. It becomes sensory overload and it’s hard to focus and admire any one or two features. With the beams going to the back of the sensory line… the custom reclaimed wood island can proudly stand at the front of the line without having to elbow its siblings out of the way.
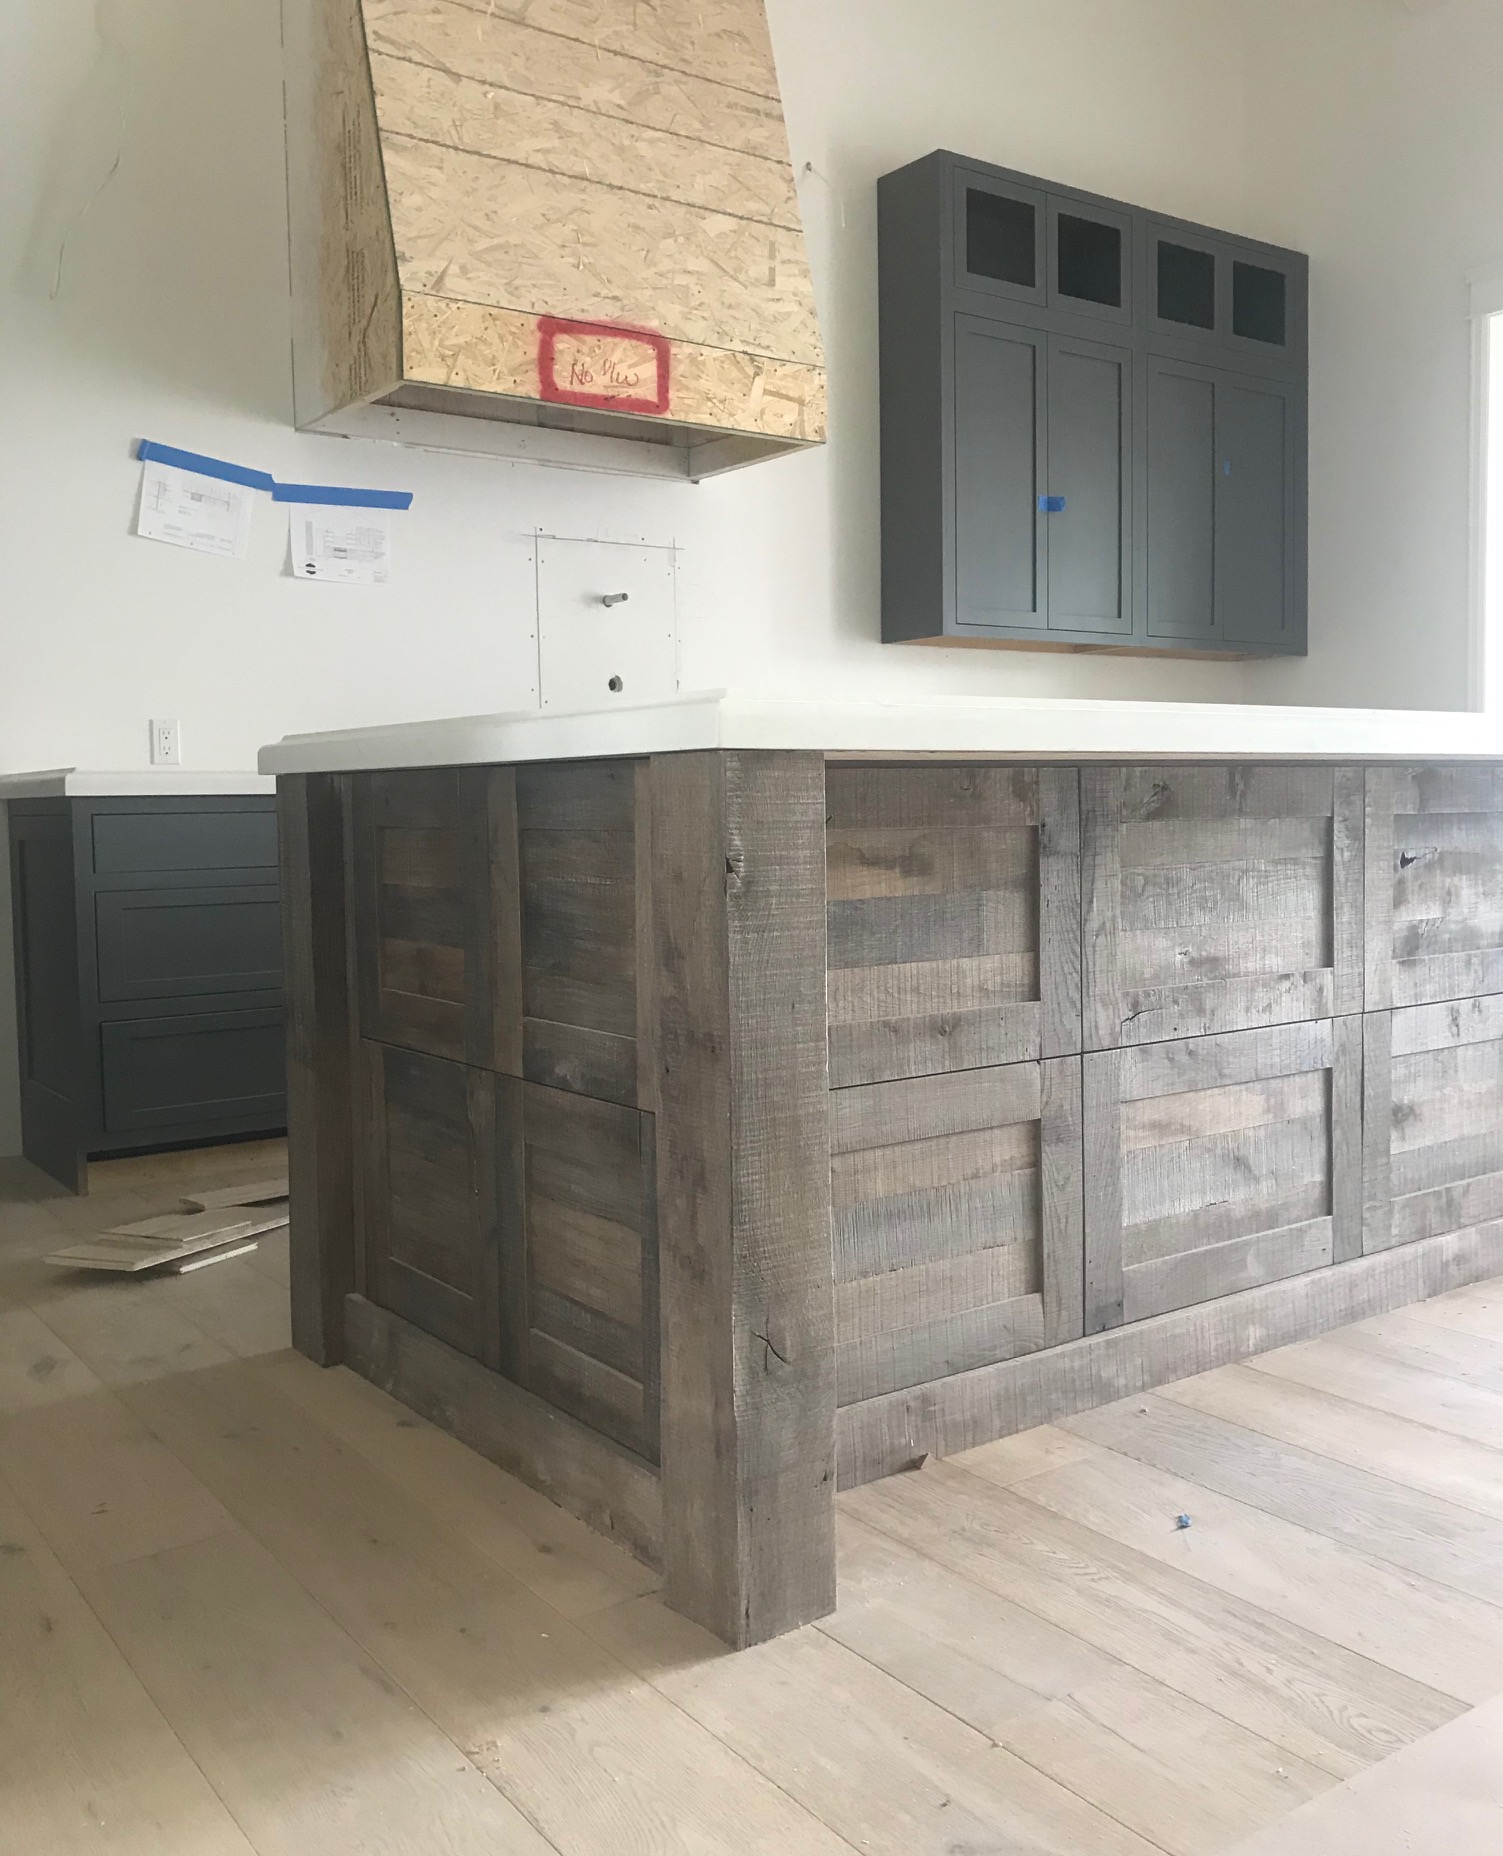
How about another view of said reclaimed wood island…
That’s about all I have for this one folks… we’re t-minus 30-days from completion on this project and feeling pretty good about it.
And remember, never hesitate to call an audible in the field based on a gut feeling. Your gut can often times be right. And kiln dried wood for beams. Always kiln dried wood.
Be good,
Austin